Getting started
Install Cyclop OS, step by step.
What every screen of the installer asks, why it asks it, and what happens after the first restart. Installing takes five to ten minutes.
Before you start
You need a USB stick of 8 GB or more, and the machine you want to install on. Everything on the USB stick will be erased when you write the image to it.
If you are replacing another system, back up your files first. The installer can erase the whole disk, and it says so plainly when it is about to.
Cyclop OS runs from the USB stick before you install anything. You can try the whole desktop, check that your wifi and screen work, and only then decide.
Choose your language
The first screen sets the language of the installer and of the installed system. Type to filter the list.
This is the system language, not the keyboard. The keyboard comes two screens later, and the two are often different: plenty of people read English and type on an AZERTY keyboard.
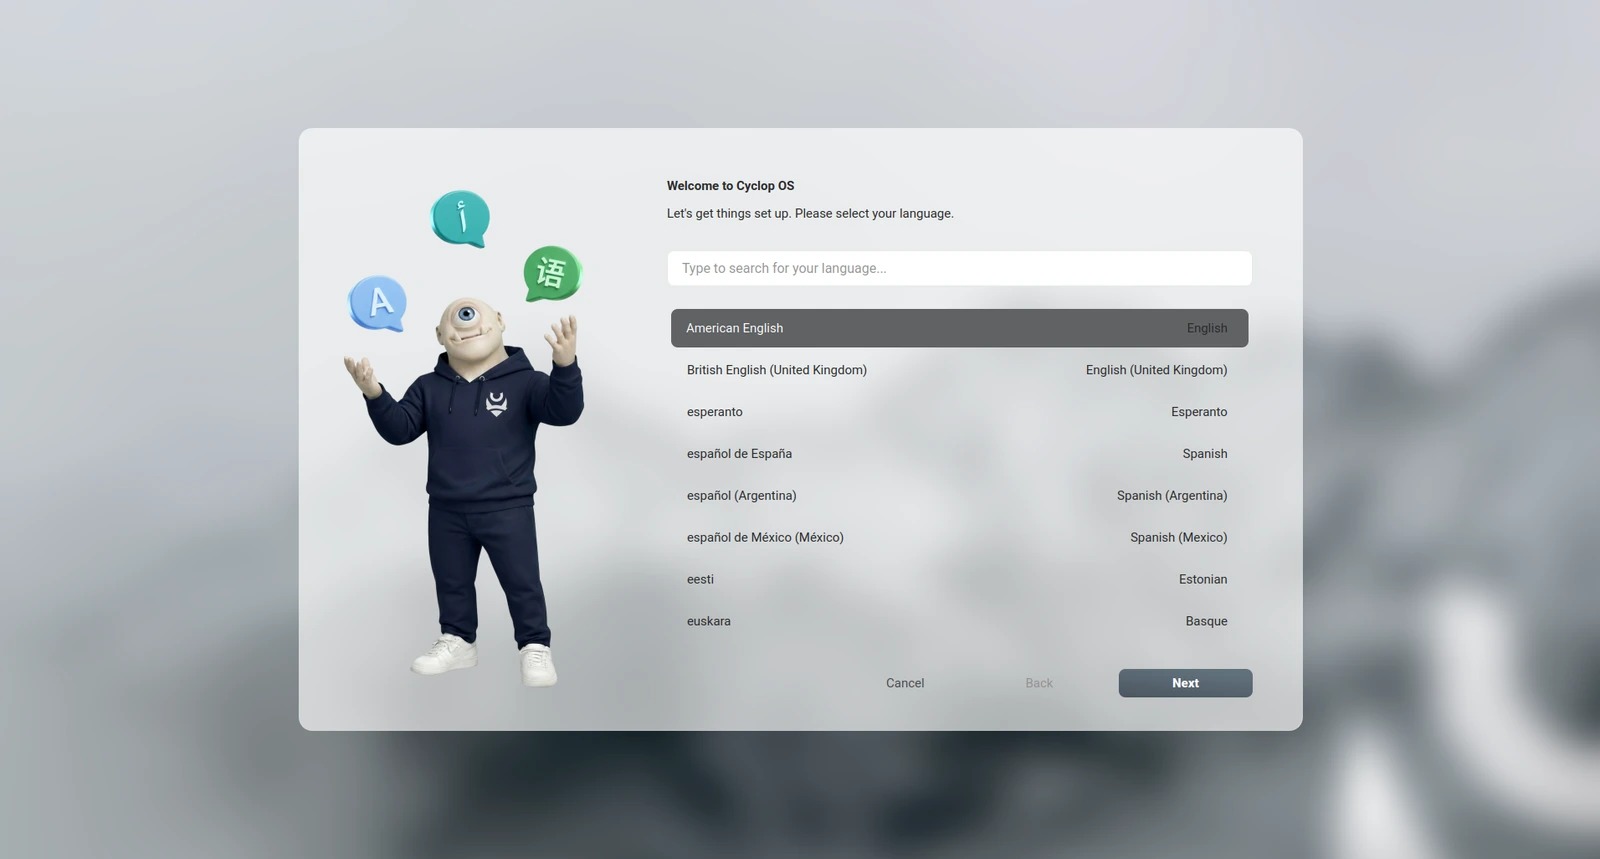
The language list filters as you type.
Choose your time zone
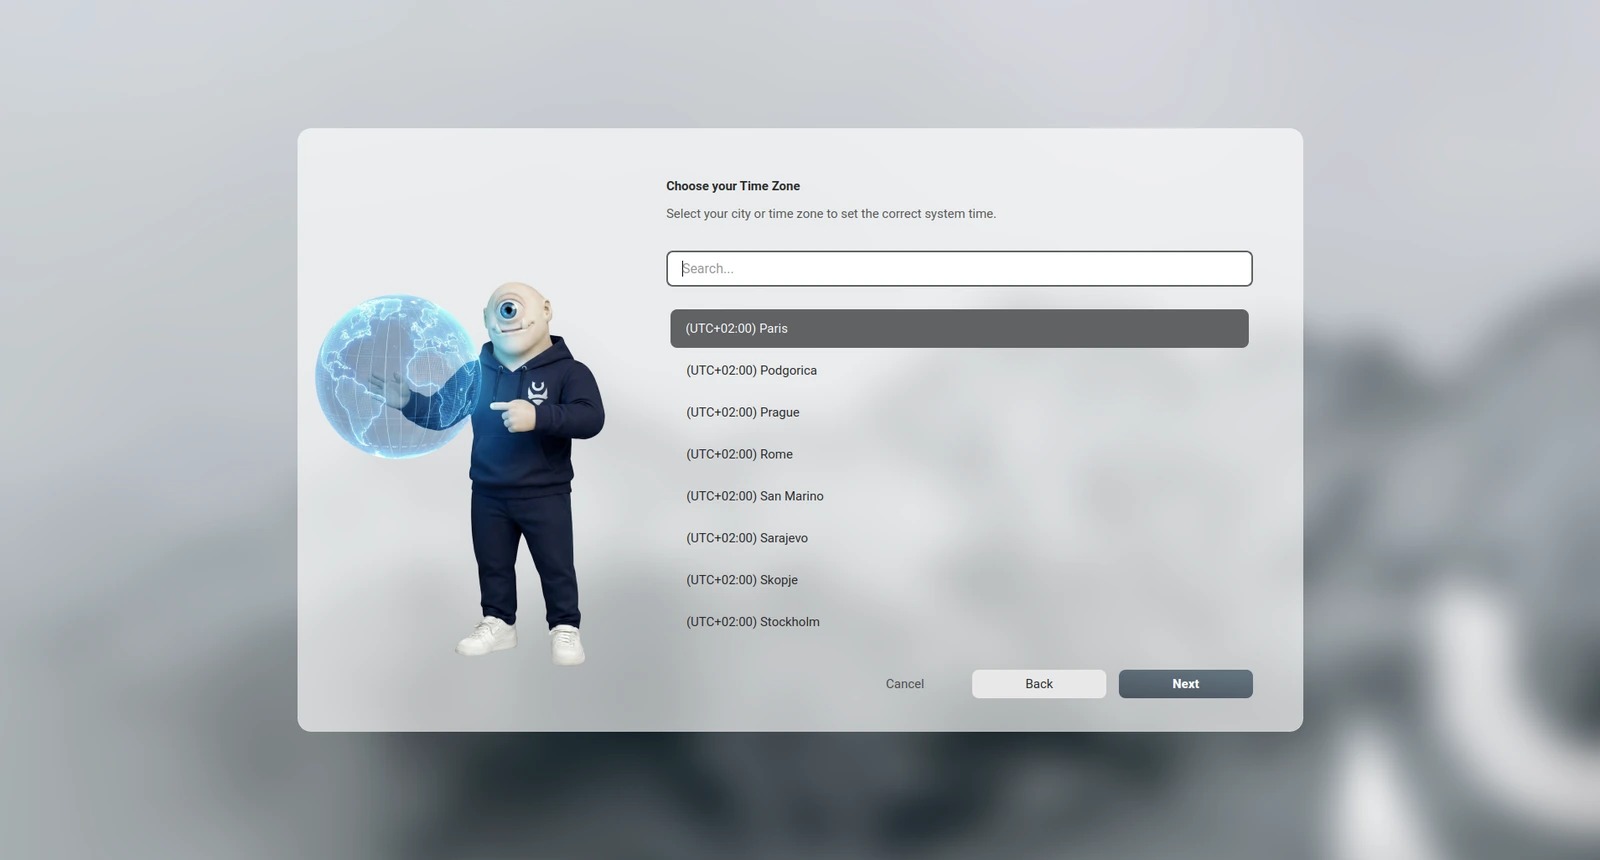
Pick the city closest to you. This sets the clock and the date format.
Choose your keyboard
Pick the layout and the variant, then use the test field underneath. Type the characters you use most: the at sign, the accented letters, the slash.
Test it here rather than after installing. A wrong layout means the password you set two screens later will not be the password you think you set.
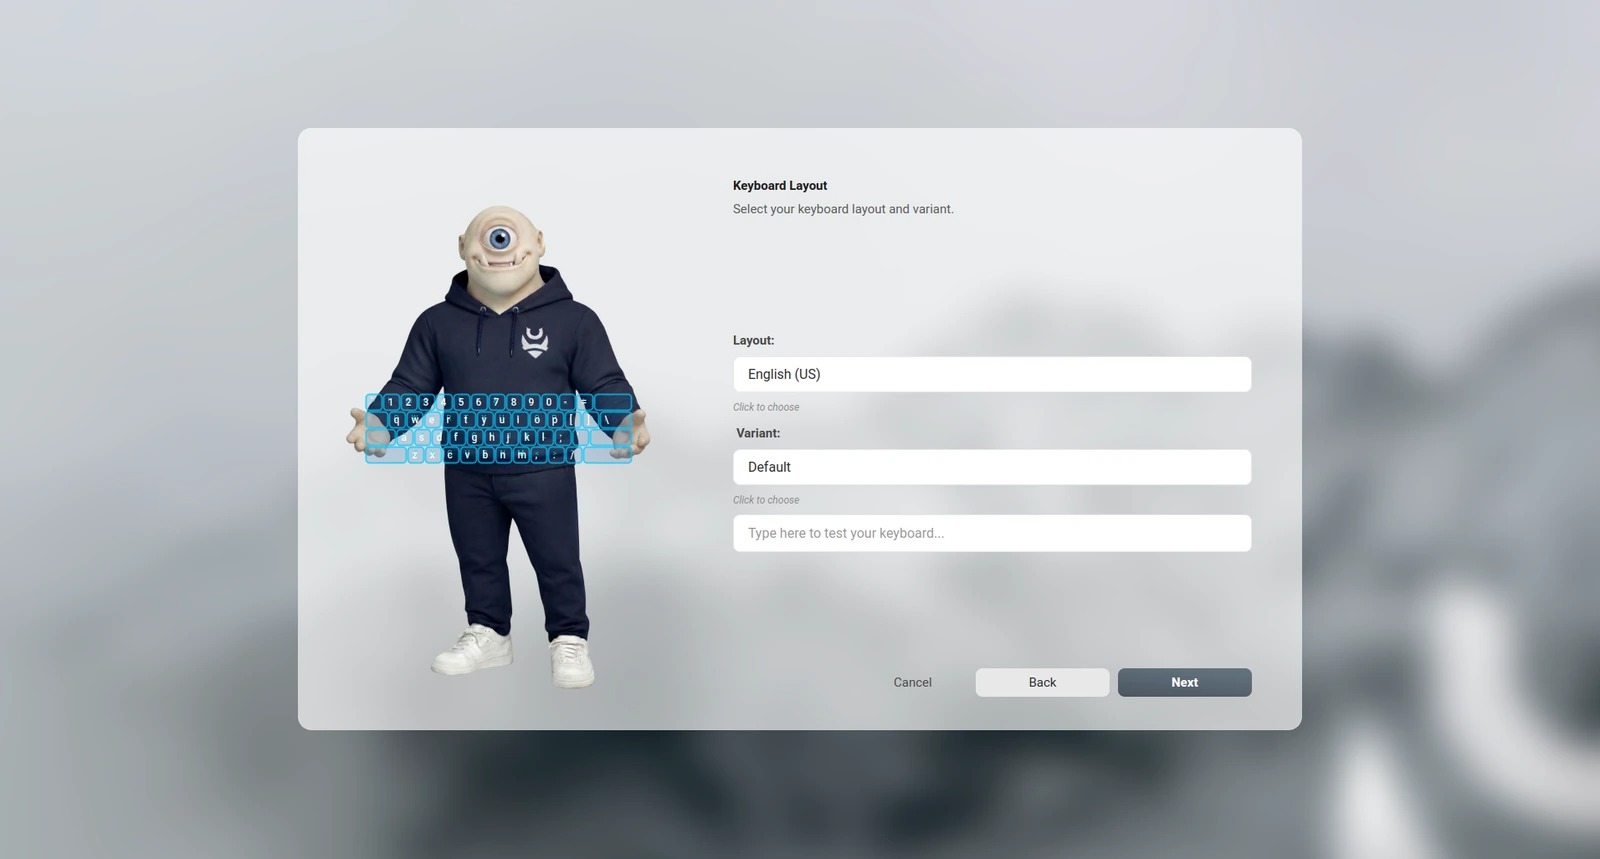
The field under the layout is there to be used.
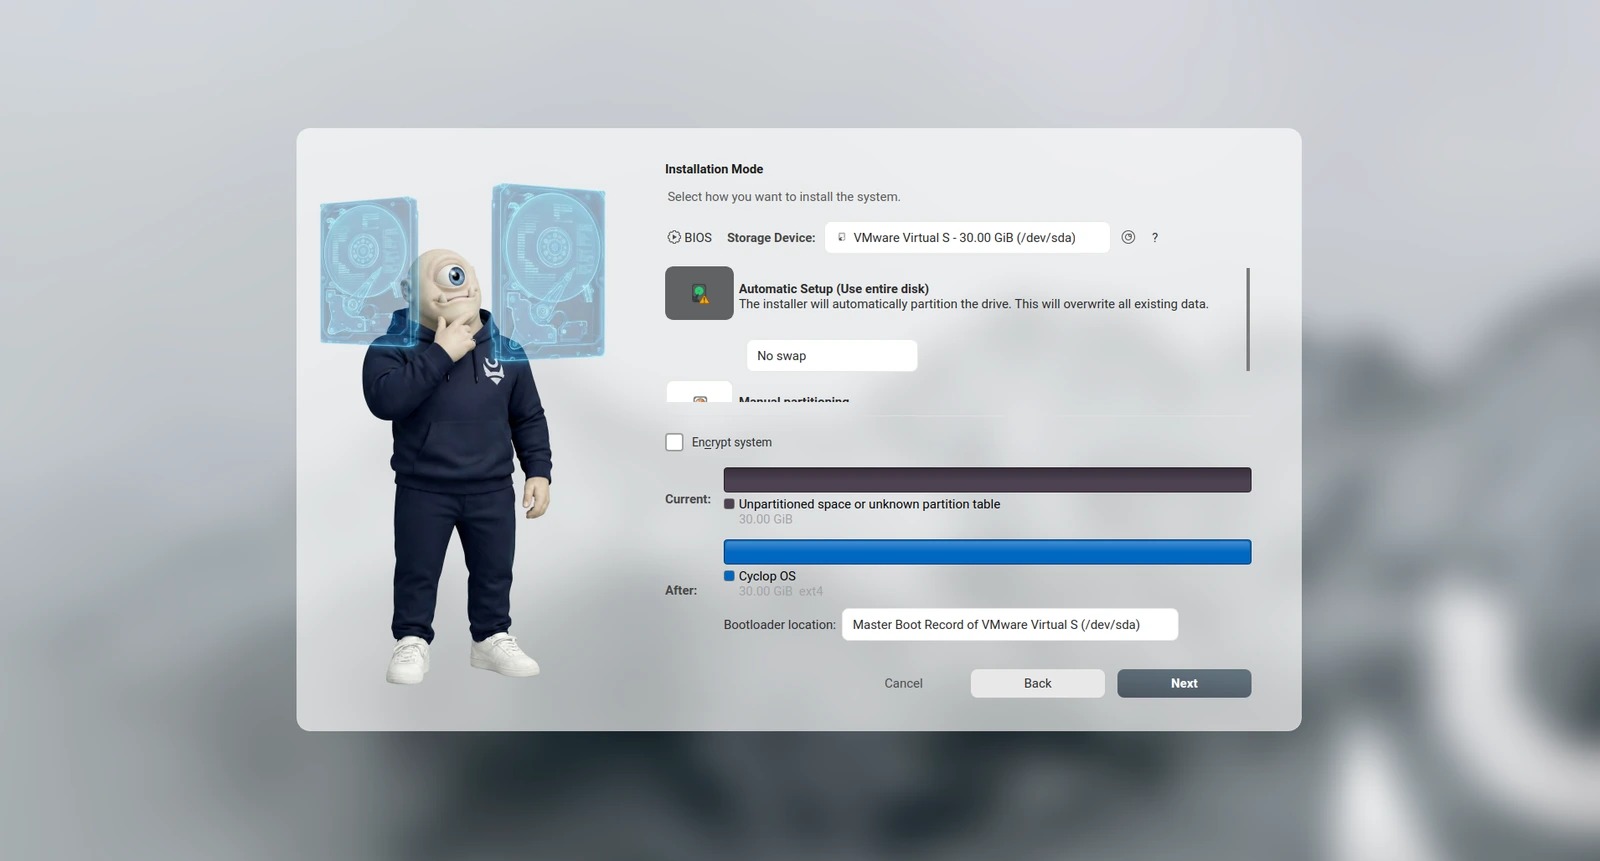
Choose how to install
Automatic setup uses the whole disk and erases everything on it. It is the right choice on a machine you are dedicating to Cyclop OS.
Manual partitioning is for people who already know what a partition table is. Take it if you are keeping another system alongside.
Encrypt system asks for a passphrase at every boot and makes the disk unreadable without it. On a laptop that leaves the house, it is the difference between a lost machine and a data breach.
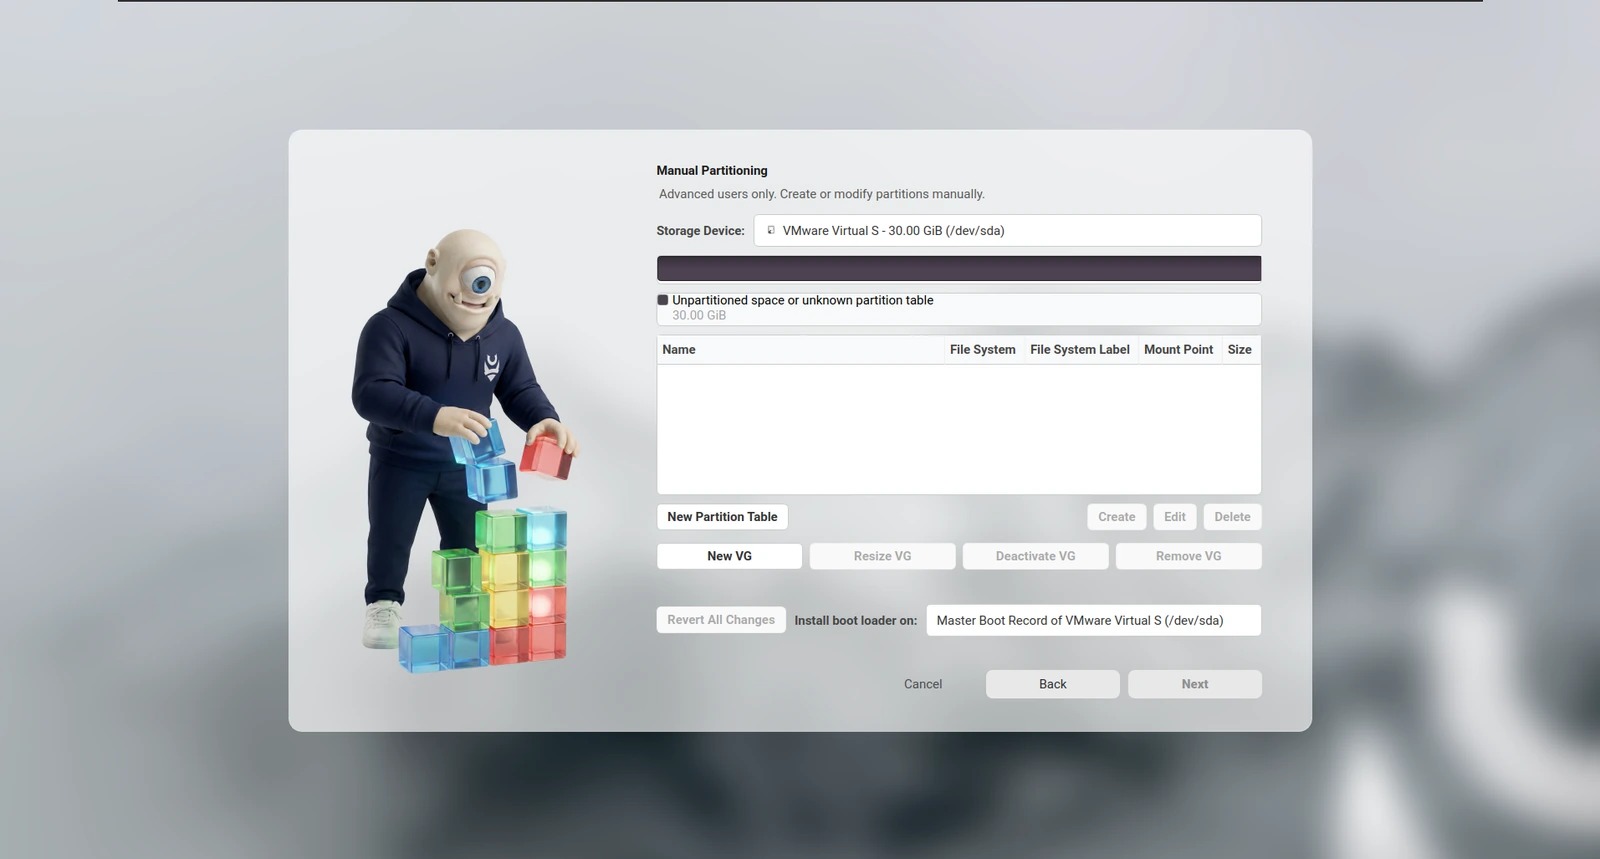
Manual partitioning, if you took it
You create and mount the partitions yourself. The bar at the top shows the disk as it is now, and the table below what you are building.
Nothing is written to the disk until you confirm on the summary screen. Up to that point you can go back.
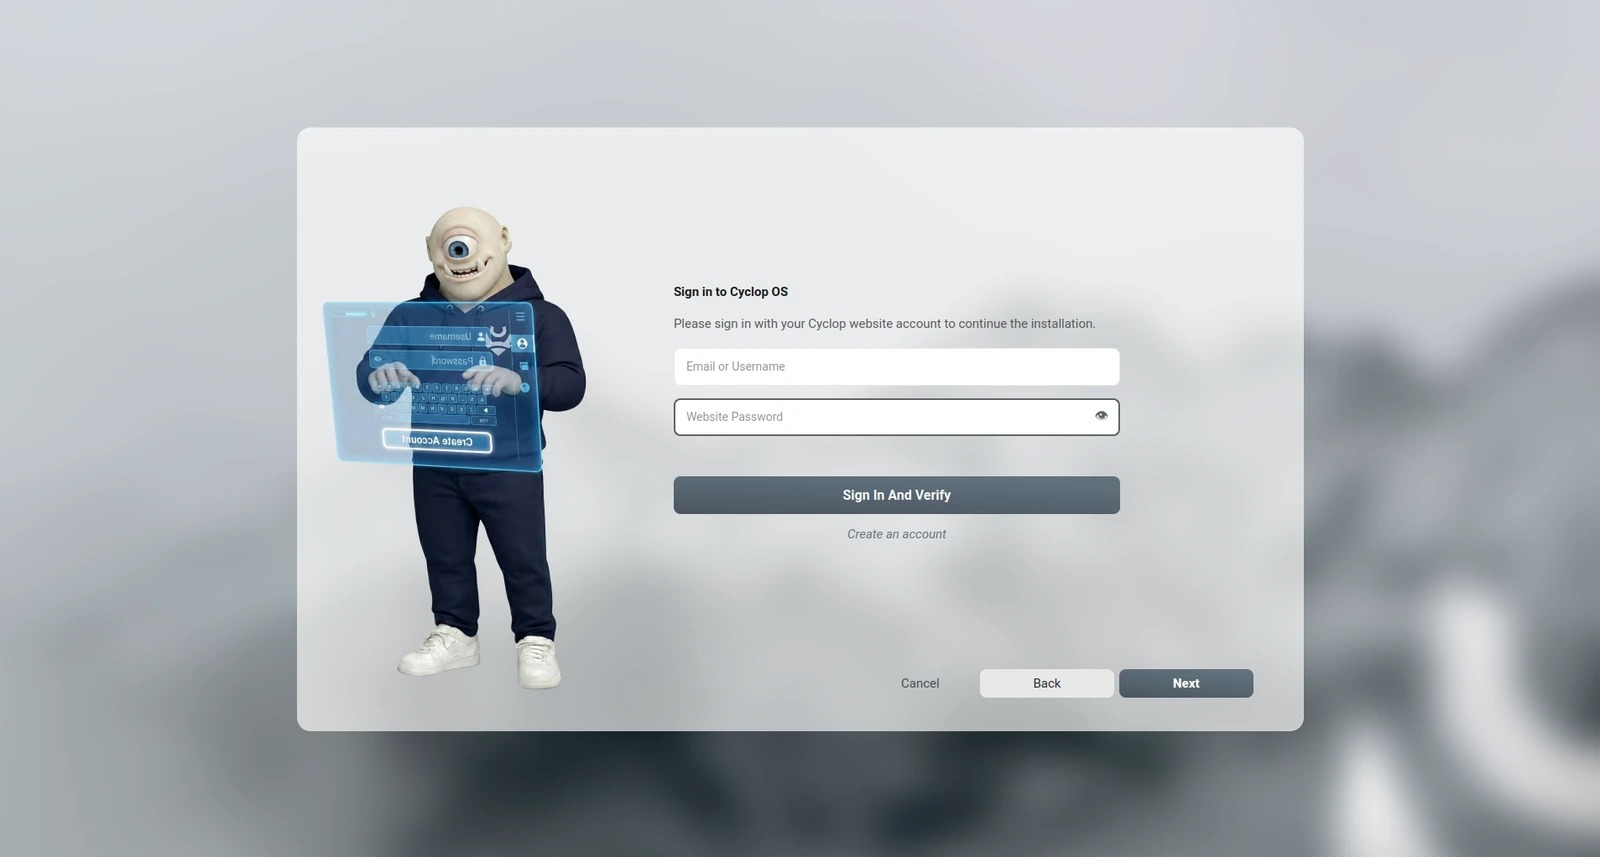
Sign in to your Cyclop account
This is your account on cyclop-tech.com, not an account on the computer. It is what carries your licence and lets this machine reach the edition you paid for.
The local computer account comes later, on its own screen.
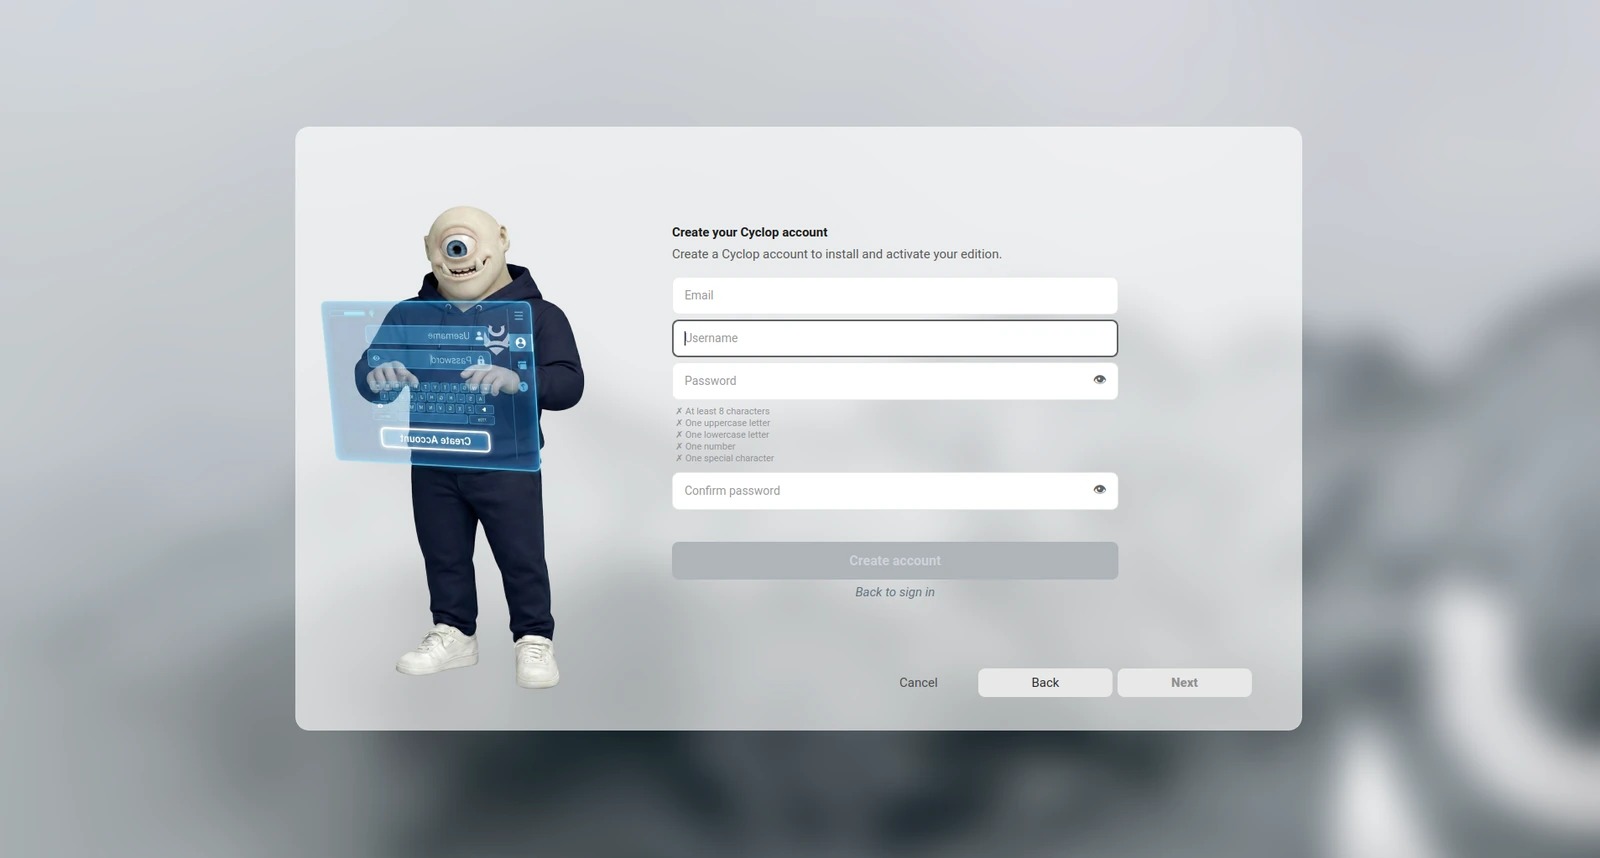
No account yet?
You can create one here without leaving the installer.
An account created at this point has no licence attached, so the installation continues on the Community edition, which is free and has no time limit. You can buy an edition later and upgrade from your account.
Choose your edition
The installer offers the editions your account can install. Community is always available. The others appear if your licence covers them.
Each paid edition unlocks a software repository of its own, layered on the free base. Pro and Gaming are siblings: a Gaming licence does not open the Pro packages.
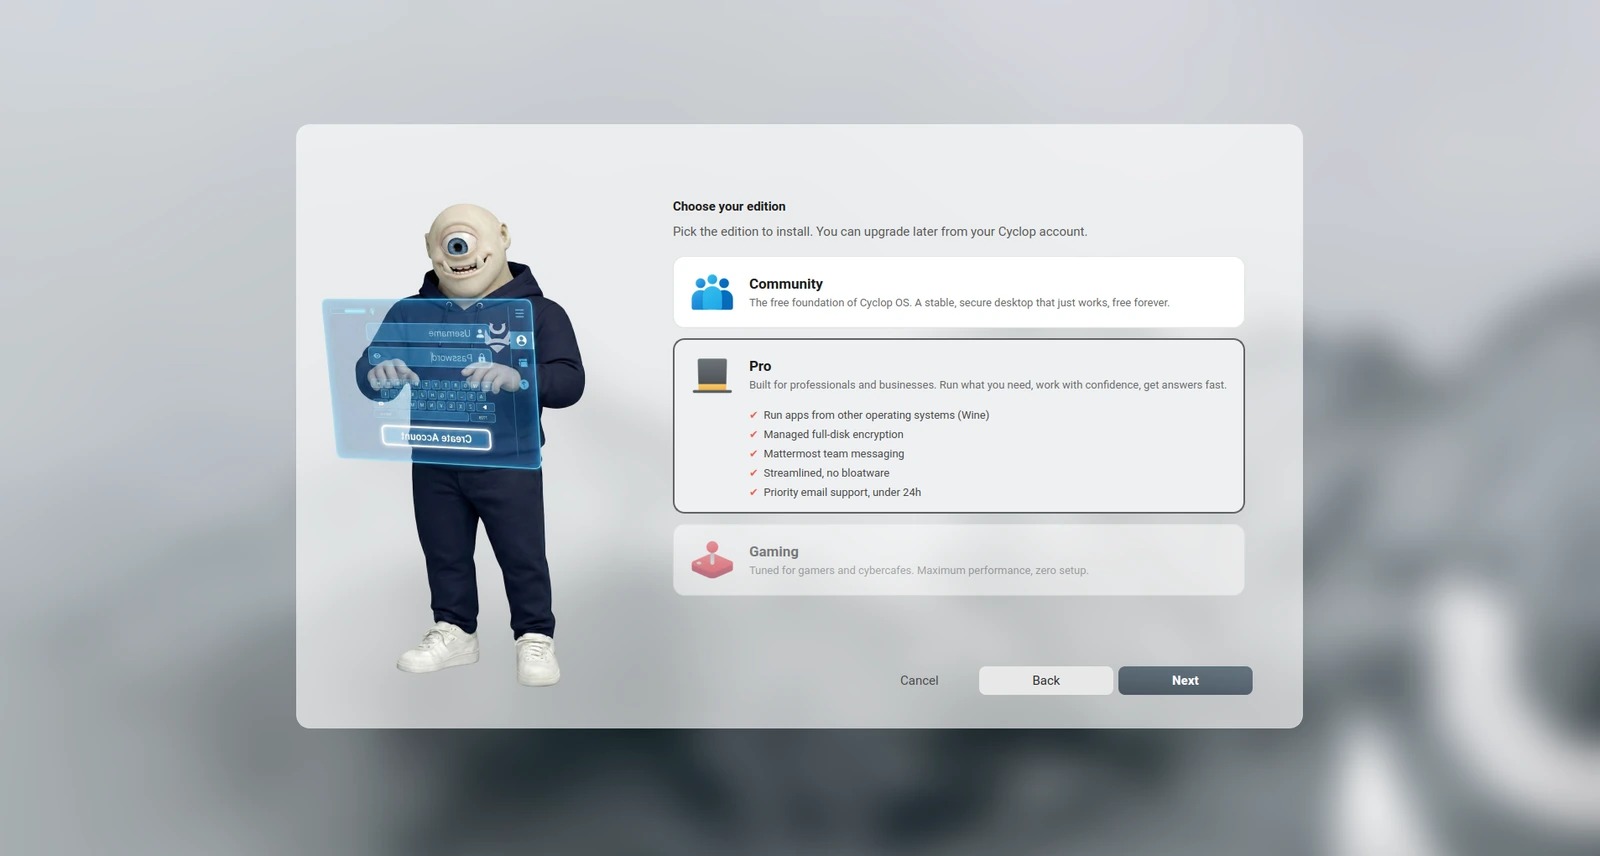
An edition you have no licence for is shown, and greyed out.
Set up the computer
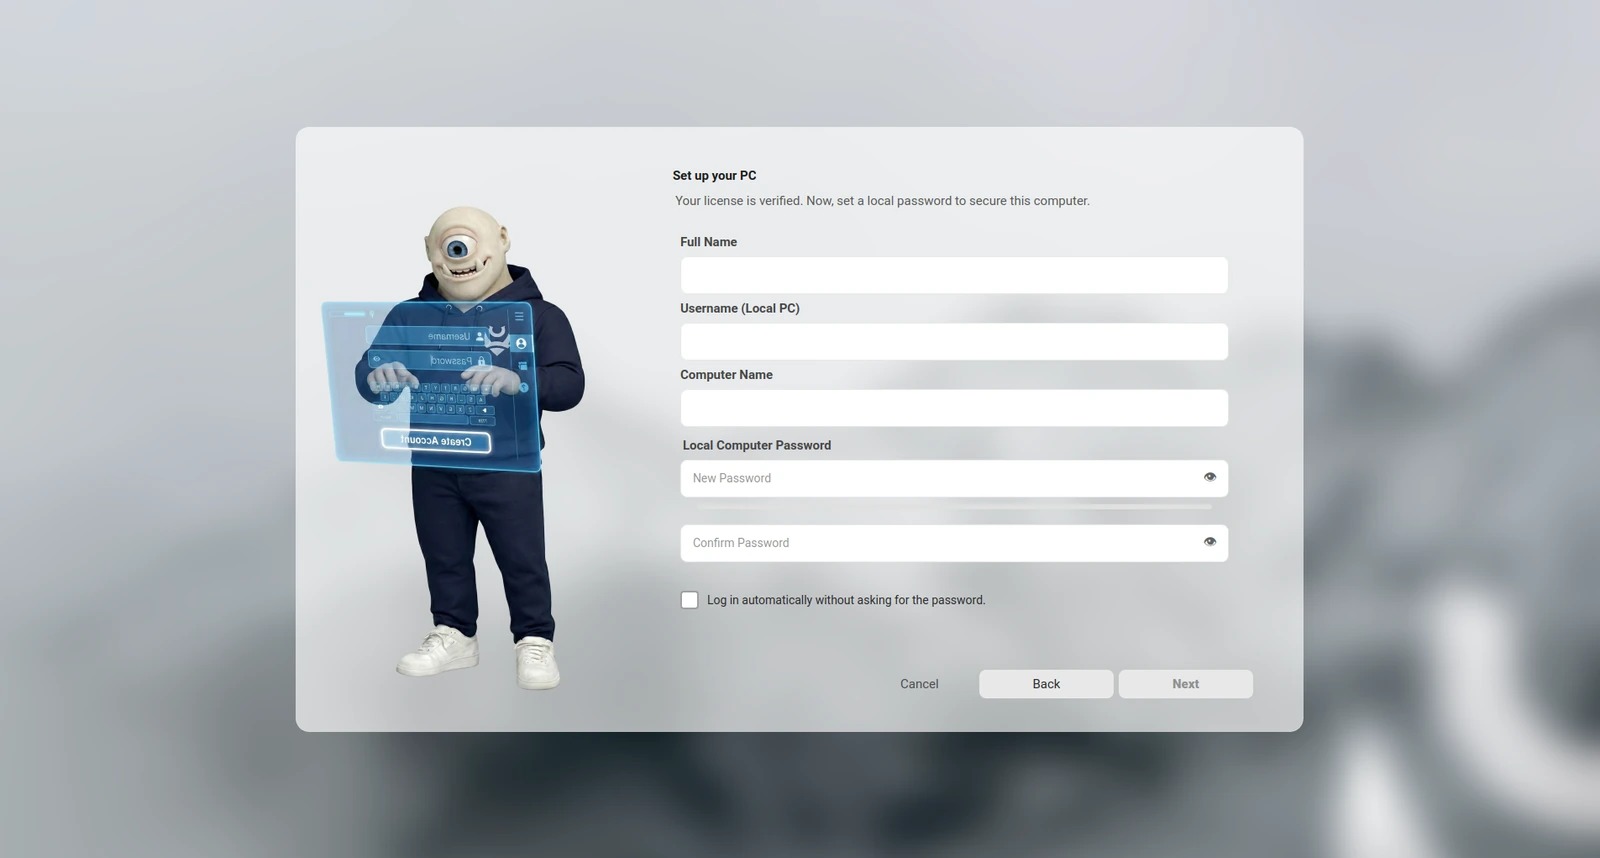
Your name, the name of the machine on the network, and the password you will type to log in.
This password is local to this computer. It is not your website password, and changing one does not change the other.
Logging in automatically skips the password at startup. Convenient at home, a bad idea on anything that leaves the house: anyone who opens the lid is inside.
Read the summary
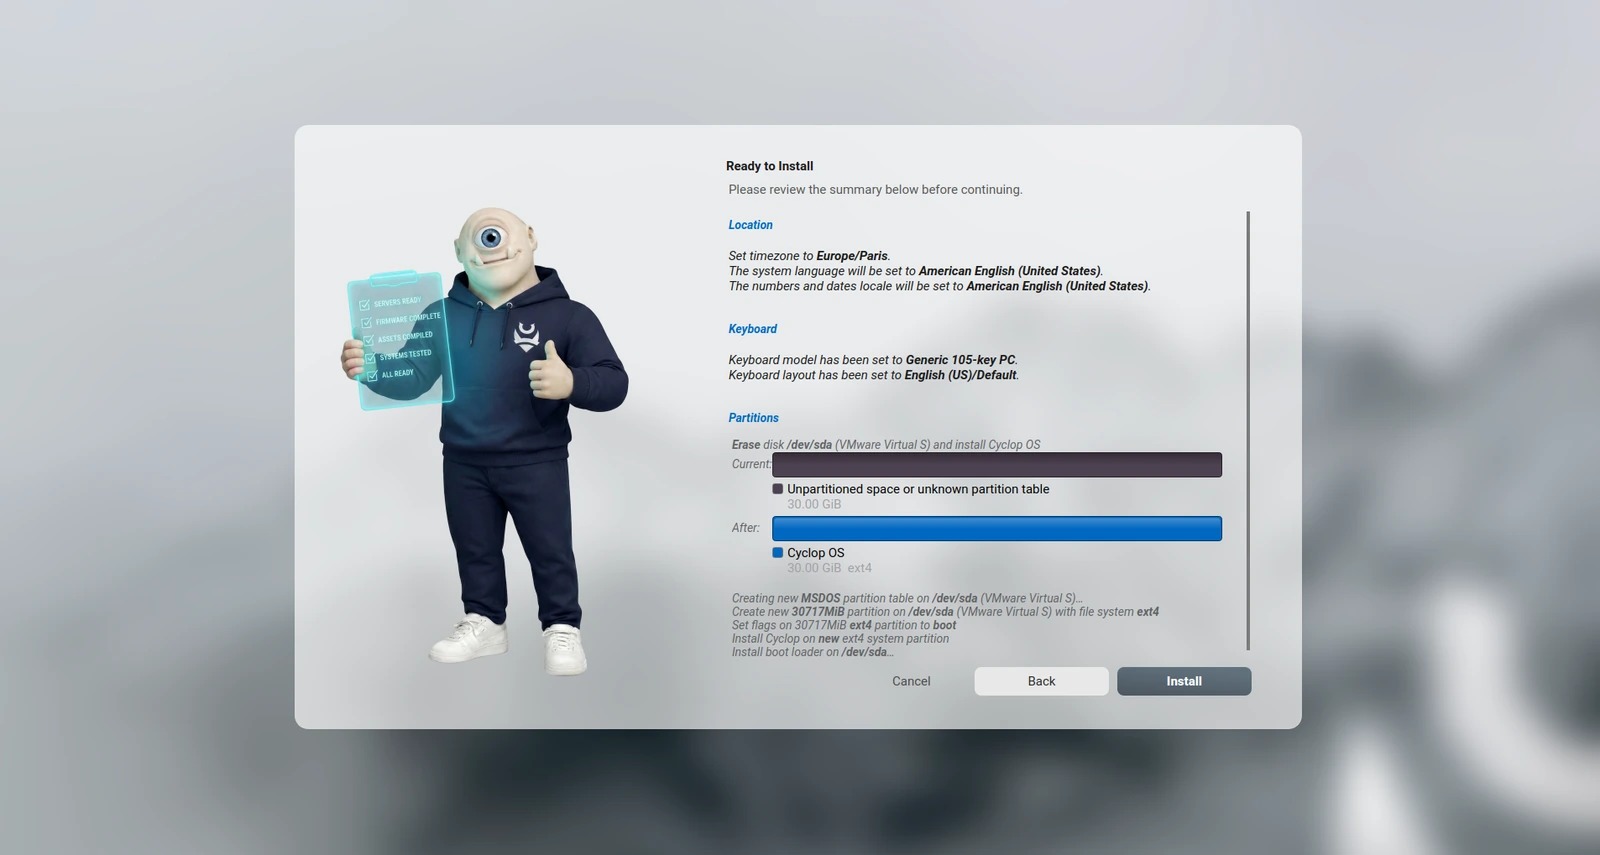
The last screen before anything is written. It says which disk will be erased, in those words, and lists every operation in order.
This is the last point where going back costs nothing.
Installation
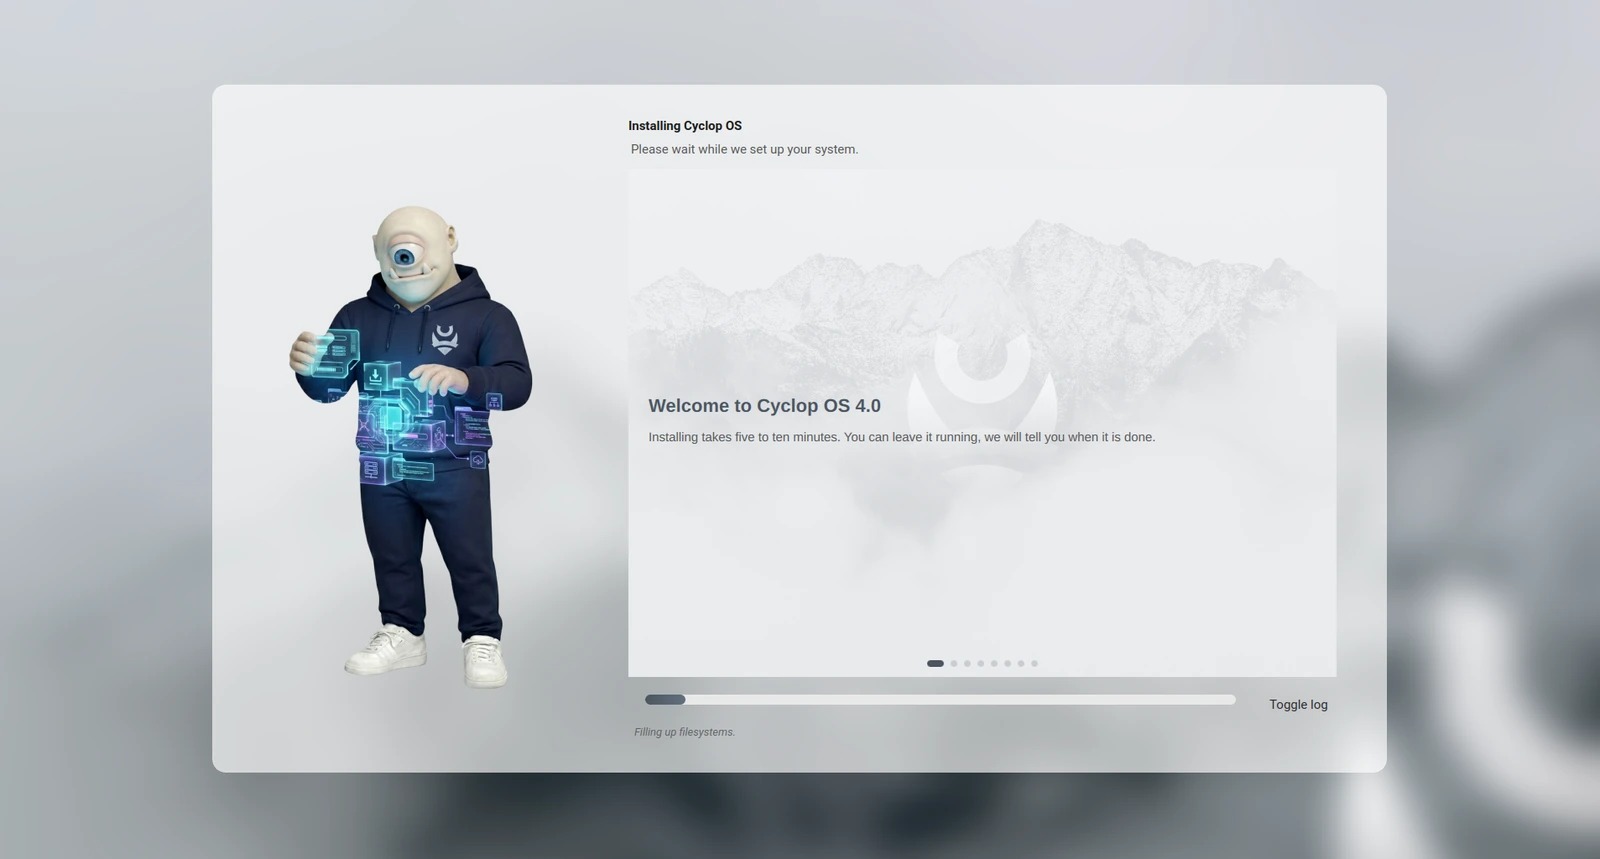
Five to ten minutes, depending on the disk. You can leave it running.
Restart
When it is done, take out the USB stick before the machine restarts, or it will boot the installer again.
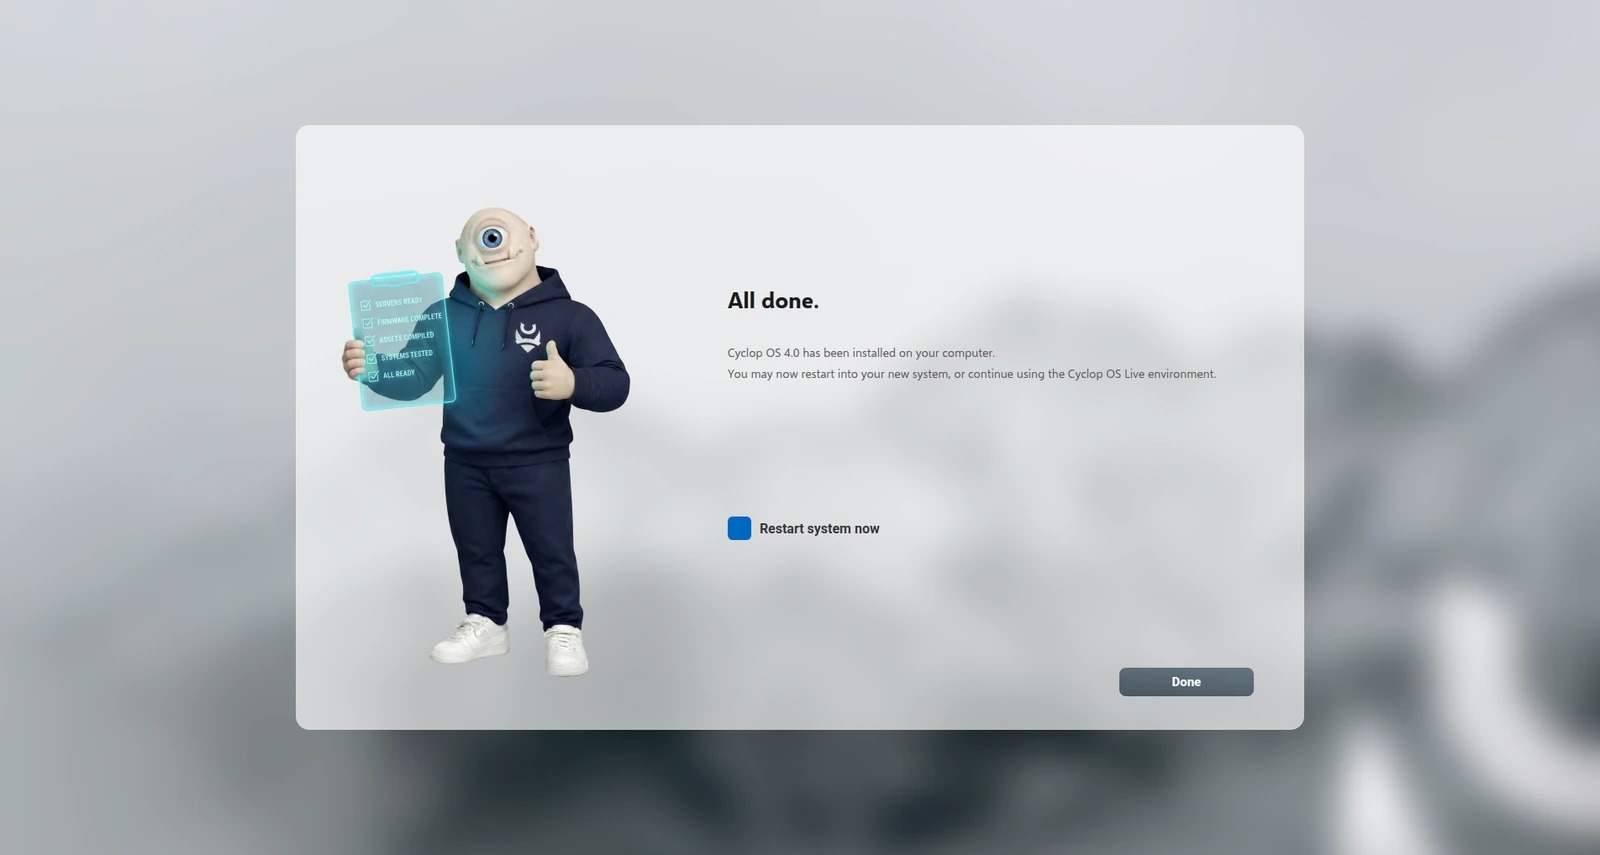
The first start takes longer
The first boot does work that only happens once. It can take noticeably longer than the ones after it. That is expected, not a fault.

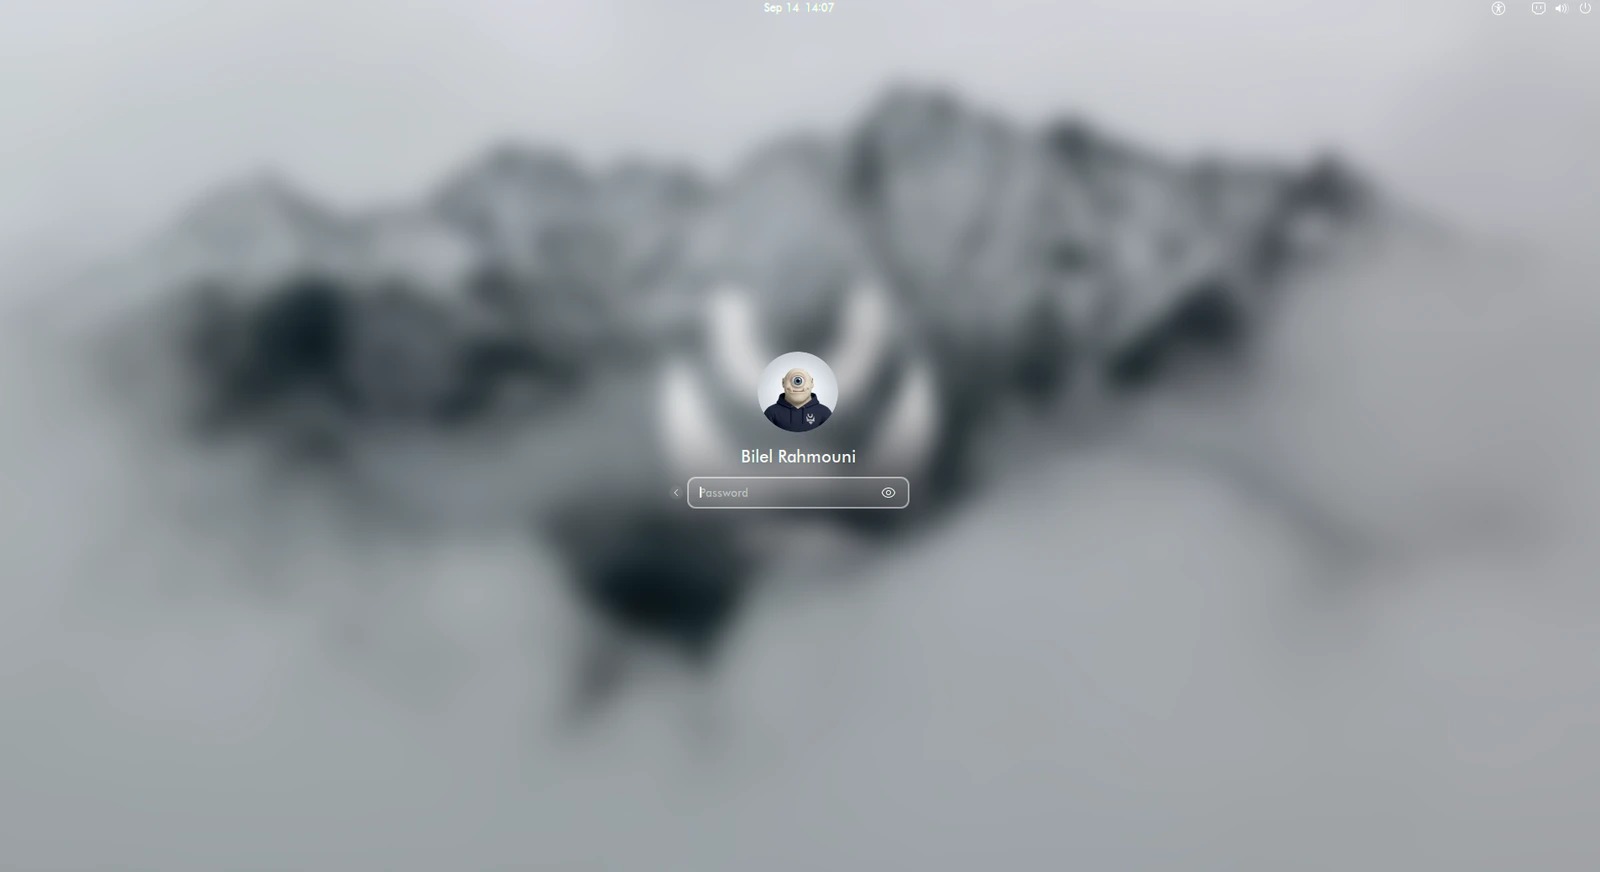
Log in
Your local password, the one from the setup screen.
The welcome tour
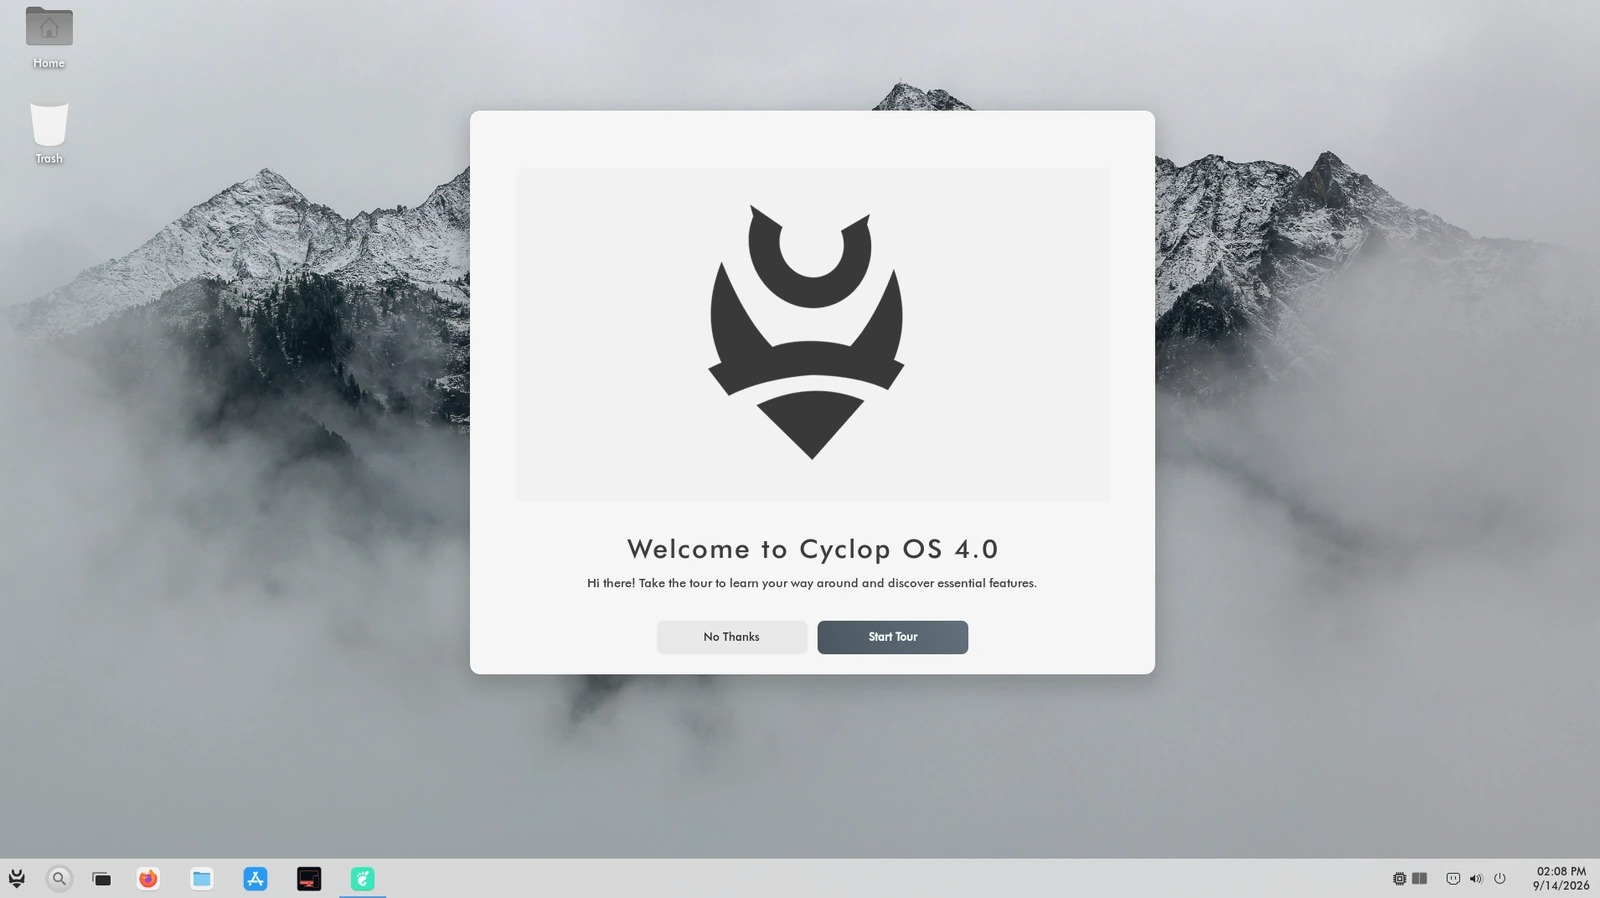
On the first session, a short tour points out where things are. Take it, it costs two minutes, and you can start it again later from the applications menu.